Bike Comfort Setup for Longer Rides
Proper saddle height, handlebar position, and seat adjustments make all the difference. Don't overlook these details — they'll keep you pain-free for miles.
You're planning a ride along the Royal Canal or out toward the Greenway, and you're excited. But then your lower back starts aching at the 8-kilometer mark, or your hands go numb. It's not because you're unfit — it's because your bike doesn't fit you properly. We've seen this happen to countless riders, and it's completely avoidable.
Getting your setup right takes maybe 30 minutes and some basic adjustments. After that, you'll be able to ride for two, three, even four hours without discomfort. This guide walks you through the essential tweaks: saddle height, saddle position, handlebar reach, and a few other details that make a real difference.
Getting Your Saddle Height Right
This is the single most important adjustment. Your saddle height determines how efficiently your legs work and how much pressure your knees absorb. Too high, and you'll rock side-to-side. Too low, and your knees take constant stress.
Here's the quick method: Sit on your saddle in normal cycling position. Your leg should be nearly straight when the pedal is at its lowest point — there should be a slight bend in your knee, roughly 25 to 35 degrees. You're looking for that point where your leg extends without locking out. Most people find this takes about five minutes of adjusting up and down.
A common mistake? Setting the saddle too high because it feels more comfortable at first. After 10 kilometers, your hips will start rocking, and you'll feel it in your lower back. We've seen riders who were sore for weeks because of this one error. Start slightly lower than feels natural, then raise it gradually until you find that sweet spot.

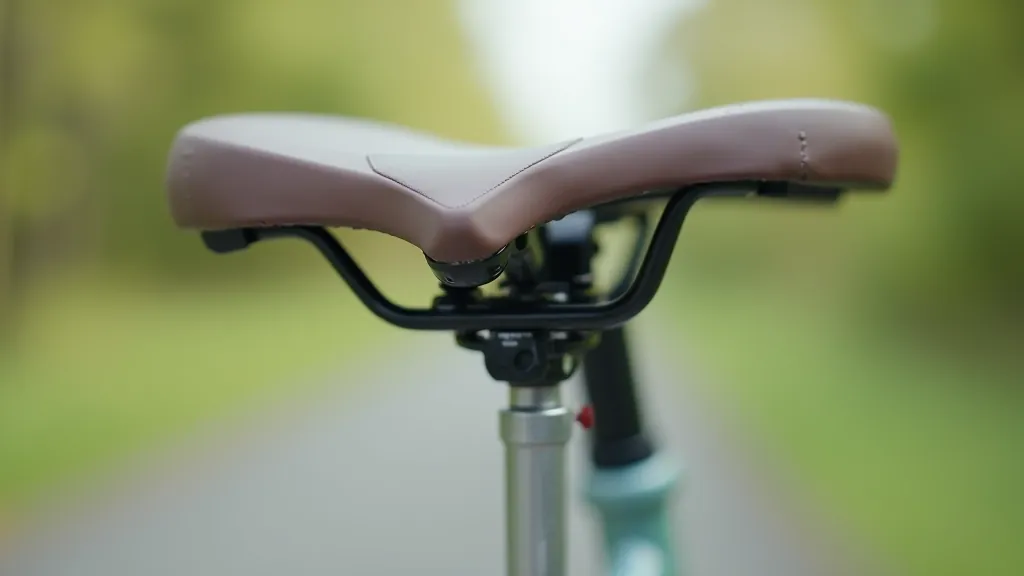
Saddle Position: Forward and Back
Once height is sorted, you'll adjust how far forward or backward the saddle sits on its rails. This changes where your weight sits relative to the pedals and handlebars. It's subtle but important.
The general rule: When you're pedaling, your knee should be roughly above the pedal axle. If it's too far forward, you'll put extra stress on your knees. Too far back, and you'll feel it in your hamstrings and lower back. Most people find they're comfortable about 2-3 centimeters behind that line, but it varies.
You can test this by clipping into the pedals and having someone look at your knee position from the side. Or use a plumb line — a piece of string with a weight — dropped from your knee. It should fall roughly through the pedal axle or just slightly behind it. Takes two minutes to check, and it's worth doing.

The Small Details That Add Up
Grip Comfort
Worn grips or grips that are too thin contribute to hand numbness and fatigue. Padded or gel grips cost 15-25 euros and make a noticeable difference on longer rides. You're holding the bars for hours — comfort here matters.
Saddle Padding
Not all saddles suit every backside. If you're experiencing pressure pain after 30 minutes, your saddle might just not be right for you. Trying a different saddle is worth the investment — they run 40-100 euros for good quality.
Pedal Positioning
Your foot should sit on the pedal with the ball of your foot over the pedal axle. Cleats (if you use them) can be adjusted. Flat pedals should position your foot naturally. This affects how force travels through your legs.
Regular Maintenance
A loose stem, creaking frame, or misaligned brakes add vibration and discomfort. Get your bike serviced once a year. A mechanic will spot issues you might not notice — and fix them before they become problems.
Clothing Fit
Baggy shorts bunch up under you. Tight shorts restrict your movement. Padded cycling shorts (or bike tights in cooler weather) reduce saddle pressure and chafing on longer rides. The difference is real.
Posture Check
Slouching or tensing your shoulders creates unnecessary fatigue. Keep your shoulders relaxed, elbows slightly bent, and core engaged. You'll notice less back pain and more efficiency.
Your Setup Checklist
Here's what to do this week. None of this requires special tools — most adjustments use an Allen key you probably already have.
Adjust Saddle Height
Sit on the saddle. Pedal to the lowest point. Your leg should be nearly straight with a slight knee bend. Adjust the seat post up or down using an Allen key. Take 5-10 minutes and test multiple times.
Fine-Tune Saddle Position
Loosen the saddle clamp (usually one or two Allen bolts). Slide the saddle forward or backward until your knee is roughly above the pedal axle. Tighten firmly. Test the position by pedaling slowly.
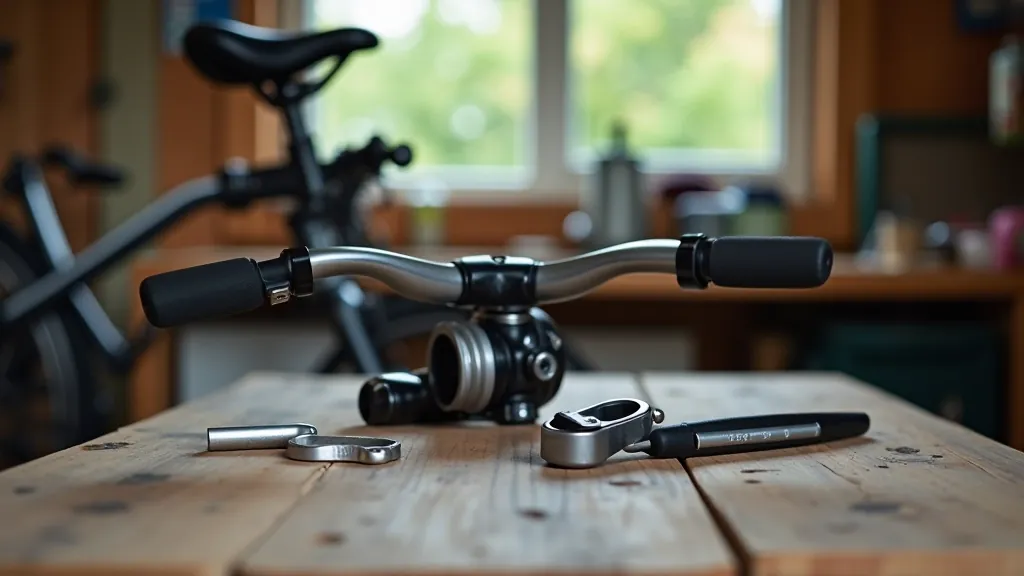
Check Handlebar Height
Loosen the stem bolts. Adjust the bars to roughly saddle height or slightly higher. Stand over the bike — you should have 2-3 centimeters clearance. Tighten the bolts firmly and test.
Take a Short Test Ride
Ride for 20-30 minutes around your neighborhood. Pay attention to any discomfort. Your back, knees, wrists, and neck should feel neutral — not strained. Note any issues for a second round of adjustments.
Fine-Tune as Needed
Small adjustments go a long way. Move the saddle up or down 5-10 millimeters at a time. Adjust the bars slightly. Most people get it dialed in within a couple of sessions. Be patient — this investment pays off immediately.
"I spent three months thinking I wasn't fit enough for longer rides. Turns out my saddle was just two centimeters too low. After adjusting it, I could suddenly do 25 kilometers without pain. It's the easiest fix I've ever made."
— Declan, age 64, Dublin
The Real Difference
A properly fitted bike is the difference between enjoying a ride and enduring it. You're not just making small tweaks — you're removing pain, improving efficiency, and building confidence on longer distances. The Royal Canal route, the Greenway, even just a weekend loop around Dublin: they're all more enjoyable when your bike fits you.
Start with saddle height this week. Then move through the other adjustments. Don't expect everything to be perfect after one ride — your body needs a few kilometers to adapt to any changes. But after three or four rides at your new setup, you'll notice the difference. Your knees won't ache. Your back won't tighten up. Your hands won't go numb.
And if you're not sure about any of these adjustments, pop into a local bike shop. Most will help you dial in your setup for free or a small fee. It's worth the 30 minutes. You've got a lot of riding ahead of you.